How to Set Up a QR Code Check-in System for Events (2026 Guide)

If you have ever watched a line of 500 attendees snake around a conference lobby while staff flip through printed spreadsheets, you already know why manual check-in is broken. It is slow, error-prone, and sets the wrong tone before an event even starts.
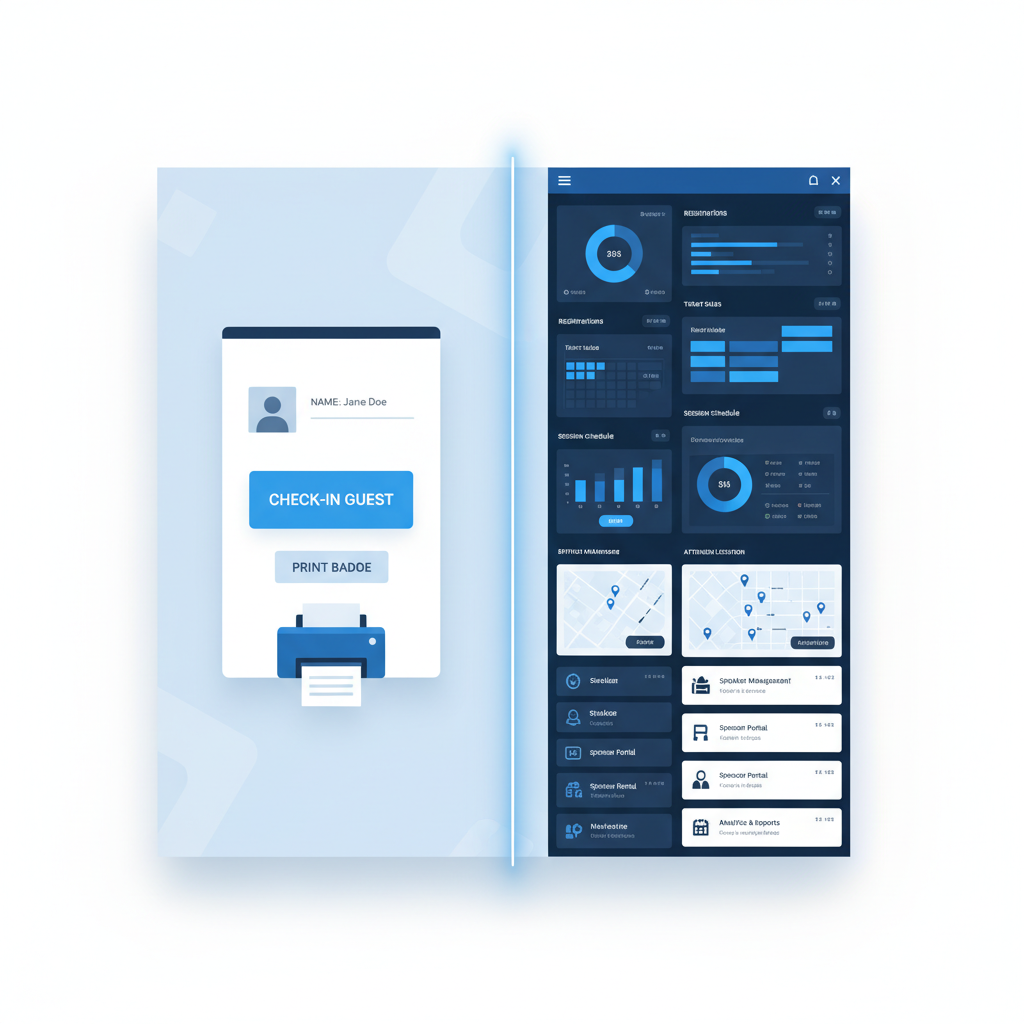
A QR code check-in system fixes all of that. Attendees scan a code, get verified in seconds, and walk straight in. Some setups even print a personalized badge the moment the code is scanned.
In this guide, you will learn exactly what a QR code check-in system is, how it works step by step, and how to set one up for free using tools like Micepad. Whether you are running a 50-person workshop or a 10,000-seat conference, the process is the same.
What Is a QR Code Check-in System?
A QR code check-in system is software that assigns a unique QR code to each registered attendee and uses that code to verify their identity at the door. Instead of searching names on a list, your staff simply scan the code with a phone, tablet, or kiosk. The system confirms the registration, marks the person as checked in, and (optionally) triggers a badge to print.
Here is the typical flow:
- An attendee registers for your event online.
- The system generates a unique QR code tied to their registration.
- The attendee receives the QR code by email or through an event app.
- On event day, they present the code at a scanning station.
- Staff scan it, the system validates it, and the attendee is checked in.
That entire process takes two to three seconds per person. Compare that to the 30 seconds or more it takes to look someone up manually, and the math speaks for itself. For a 1,000-person event, you could save over seven hours of cumulative wait time.
How Does QR Code Event Check-in Work?
Let's walk through each stage in more detail so you can picture how this fits into your event workflow.
1. Generate and Send QR Codes
After attendees register, your event platform creates a unique QR code for each person. This code encodes a registration ID, not personal data, so it stays secure even if someone screenshots it.
Most QR code check-in apps let you embed the code directly in a confirmation email. Some also make the code available inside a mobile event app. Either way, the attendee has it before they arrive.
2. Set Up Scanning Stations
On event day, you need at least one scanning station per entrance. A station can be as simple as an iPad on a stand running your check-in app. For larger events, you might use dedicated kiosks or multiple tablets spread across registration counters.
The hardware requirements are minimal: any device with a camera and an internet connection will work. Many apps, including Micepad, also support offline mode in case your venue WiFi is unreliable.
3. Scan and Validate
When an attendee arrives, they show their QR code on a phone screen or a printed ticket. Your staff (or the attendee themselves at a self-service kiosk) scans it. The system checks the code against the registration database, confirms it is valid, and marks the attendee as arrived.
If the code has already been scanned, the system flags it immediately. This prevents duplicate entries and unauthorized access.
4. Optional: Print a Badge on Scan
This is where things get powerful. With a system like Micepad's badge printing solution, a personalized badge prints automatically the moment the QR code is scanned. The attendee picks up their badge and walks in. No pre-printing hundreds of badges. No sorting through alphabetical stacks. No reprints for last-minute name changes.
5. Track Attendance in Real Time
Every scan feeds into a live dashboard. You can see exactly how many people have arrived, who is still missing, and what the peak check-in times are. This data helps you staff your stations more effectively and gives you hard attendance numbers for post-event reporting.
Benefits of QR Code Check-in vs. Manual
Switching from clipboard-and-spreadsheet check-in to a QR code system is not just a nice upgrade. It changes the economics of your registration desk.
Speed. A QR code scan takes two to three seconds. Manual lookup takes 30 seconds on a good day and over a minute when names are misspelled or missing. For a 500-person event, that difference turns a 90-minute check-in window into a 15-minute one.
Accuracy. Manual lists are riddled with errors: misspelled names, missed check-ins, duplicate entries. QR codes eliminate all of that. Every scan is recorded exactly once, tied to the right person, with a timestamp.
Real-time data. You know who is in the building at any moment. That is not just convenient; it matters for fire safety compliance, session capacity planning, and sponsor reporting.
Contactless experience. Post-pandemic, many attendees still prefer minimal physical contact at registration. QR code check-in with self-service kiosks meets that expectation.
Lower staffing costs. With QR scanning, one person can handle what used to require three or four. For multi-day events, that adds up to significant savings on temporary staff.
How to Set Up a Free QR Code Check-in System
You do not need a big budget to get started. Several platforms offer a QR code check-in system free for small events. Here is how to set one up using Micepad.
Step 1: Create Your Event
Sign up at Micepad and create a new event. Add your event name, dates, venue, and any session details. This takes about five minutes.
Step 2: Import Your Attendee List
Upload your attendee list as a CSV or connect your registration form. Micepad will generate a unique QR code for each person automatically.
Step 3: Customize and Send QR Code Emails
Use Micepad's email template editor to design your confirmation email. The QR code is embedded automatically. You can customize the subject line, branding, and any event details you want to include. Hit send, and every registered attendee gets their code.
Step 4: Set Up Check-in Stations on Event Day
Download the Micepad check-in app on your iPads or tablets. Log in, select your event, and you are ready to scan. For self-service check-in, set the app to kiosk mode so attendees can scan their own codes.
If you are using badge printing, connect your printer to the station. Micepad supports most thermal and inkjet badge printers.
Step 5: Monitor Your Real-Time Dashboard
As attendees arrive and scan in, your dashboard updates live. You can track arrival rates, identify no-shows, and adjust staffing on the fly.
Micepad is free for small events, making it a strong option if you want to test QR code check-in without committing to an annual contract. For larger events or advanced features, get in touch with the team to discuss pricing.
Best QR Code Check-in Apps and Software
There are several solid options on the market. Here is a quick comparison of five popular tools.
1. Micepad
Best for events that need both QR code check-in and on-demand badge printing. Micepad prints personalized badges the moment a QR code is scanned, which eliminates pre-printing entirely. It offers a free tier for small events, offline scanning support, and a real-time attendance dashboard. If badge printing is part of your workflow, this is the strongest option available.
2. Eventbrite
A well-known platform that includes QR code scanning through its Eventbrite Organizer app. It works well for ticketed events like concerts, fundraisers, and public conferences. However, it is primarily a ticketing platform, so its check-in features are less customizable than dedicated check-in tools.
3. Whova
An enterprise-focused event management platform with built-in QR code check-in. Whova is feature-rich but comes with a higher price tag, making it better suited for large organizations running multiple events per year.
4. Bizzabo
Designed for marketing-driven events like product launches and brand activations. Bizzabo includes QR code check-in alongside event marketing tools, analytics, and integrations. It is a premium product aimed at mid-to-large enterprises.
5. vFairs
Primarily known for virtual and hybrid events, vFairs also supports in-person QR code check-in. It is a good fit if your event has both virtual attendees and in-person participants who need a unified experience.
Tips for a Smooth QR Code Check-in
Even the best QR code check-in app will fail you if the setup is sloppy. Here are six things to get right before event day.
Test every QR code before the event. Send yourself a test registration, receive the QR code email, and scan it with the actual device you will use at the venue. Do not assume it works.
Have a backup manual check-in process. Technology fails. Keep a searchable digital list (even a simple spreadsheet on a tablet) as a fallback so you can look attendees up by name if a QR code will not scan.
Ensure reliable WiFi or use offline mode. QR code scanning depends on a data connection for real-time validation. If your venue has spotty WiFi, choose a check-in app with offline mode that syncs when connectivity returns.
Train your staff on the scanning app. A 10-minute walkthrough before doors open saves hours of confusion. Show staff how to handle common scenarios: expired codes, duplicate scans, walk-in registrations.
Place clear signage at entry points. Attendees should know where to go and what to have ready before they reach the front of the line. A simple sign that says "Have your QR code ready" cuts your average scan time significantly.
Stagger your check-in windows. If your event starts at 9:00 AM, open check-in at 8:00 AM and suggest early arrival in your pre-event emails. Spreading arrivals over a longer window prevents bottlenecks even with fast scanning.
Frequently Asked Questions
Is QR code check-in free?
Yes. Several platforms offer free QR code check-in for small events. Micepad, for example, includes QR code generation, scanning, and real-time tracking at no cost for events under a certain attendee threshold. Eventbrite also includes basic QR scanning with its free ticketing tier. For larger events or advanced features like badge printing and custom branding, most tools move to a paid plan.
Can QR codes print badges automatically?
Yes. With the right setup, a badge prints the instant an attendee's QR code is scanned. The check-in app sends the attendee's details to a connected printer, which produces a personalized badge in seconds. Micepad's badge printing feature handles this natively, supporting name badges with custom layouts, logos, and even session-specific color coding.
What equipment do I need for QR code check-in?
At minimum, you need a smartphone or tablet with a camera and the check-in app installed. For a more professional setup, use iPads mounted on stands at each entry point. If you want on-demand badge printing, add a compatible badge printer to each station. Most events can get started with just one or two iPads and a single printer.
How do attendees get their QR codes?
Attendees receive their QR code via email after they complete registration. The code is typically embedded as an image in the confirmation email, so they can show it directly from their phone. Some event apps also store the QR code within the app itself for easy access. If an attendee loses their code, your event team can resend it from the admin dashboard in a few clicks.
Micepad Team
Micepad - Enterprise Event Management Software